
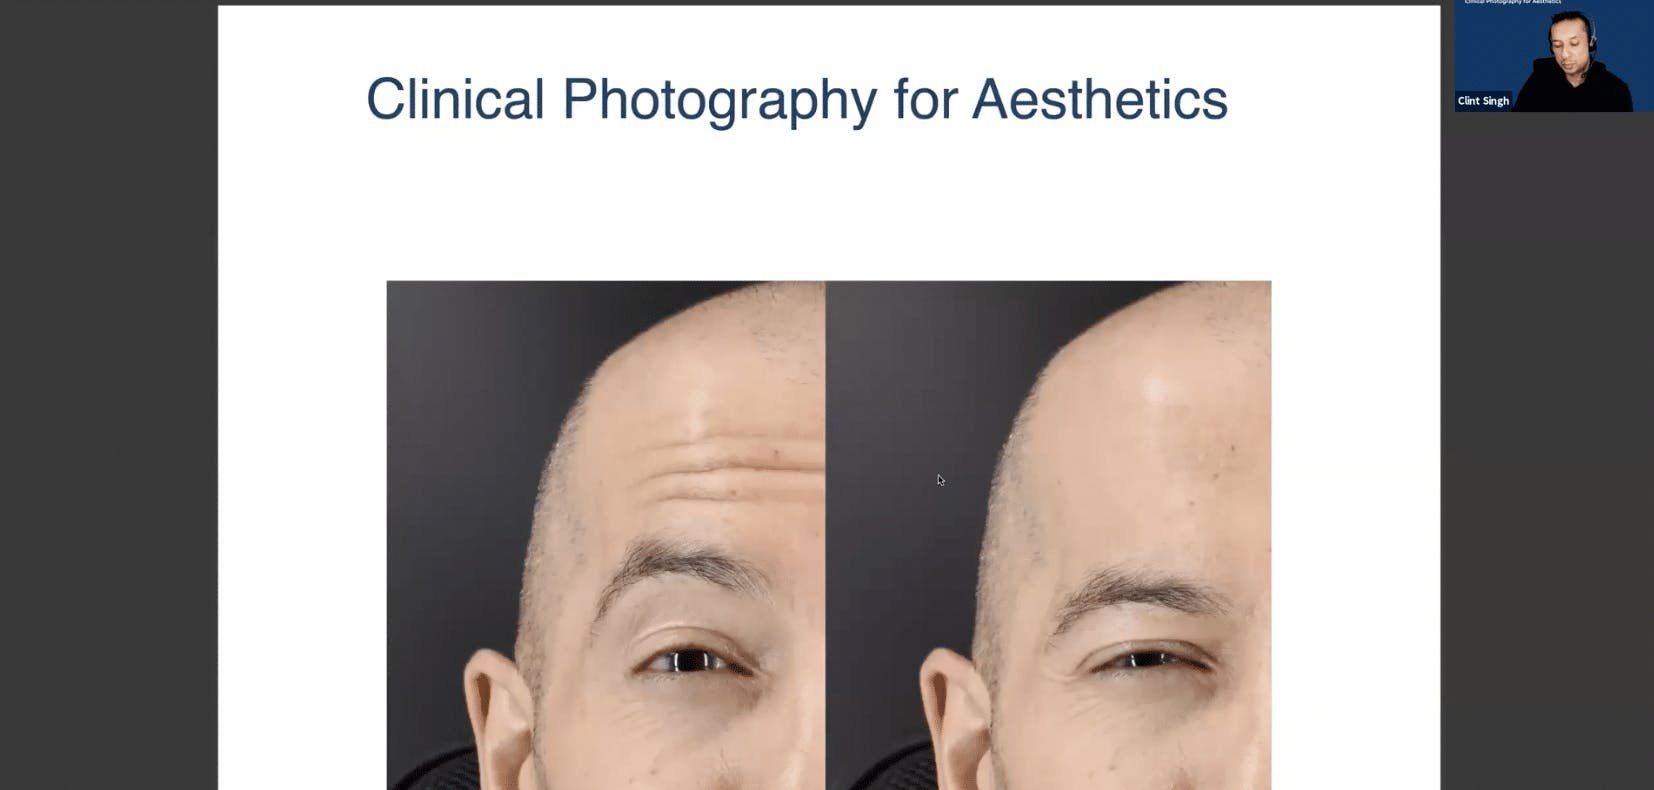
Clinical Photography For Aesthetics Practitioners
Clinical photography for aesthetics practitioners can be a difficult skill to master.
Good before and after treatment shots are marketing gold for injectors. Moreover, they’re an important part of your patient records. Yet between the lighting and angles, capturing accurate, consistent images is notoriously hard to get right.
Comma recently hosted a live webinar by Clint Singh, a professional photographer who specialises in clinical photography solutions and runs courses for practitioners. Let’s share some of his top tips – and ours – for taking excellent patient images every time.
Standardising your clinical photography
“Your photography needs to fit in with your workflow so it needs to be quick and simple to set up,” advises Singh.
“Before and afters really need to look identical apart from the work you’ve carried out. So the exposure, the colour, the size of those images, need to be identical. We need this for reference, for marketing, but you really need good quality images to fall back on if ever needed for litigation.”
If you are taking your before and after images on a mobile phone or tablet device, you need to ensure you have a good, consistent lighting setup in order to get good, consistent results.
This requires standardisation of lighting, distances and angles. You will also need to use the same, correct settings on your camera each time to reproduce the same exposure and colour, image-to-image.
Maintaining exact distances
Ensure you keep the exact same distance every time between:
- your patient and your light source(s)
- your patient and your camera
- your camera and your light source(s).
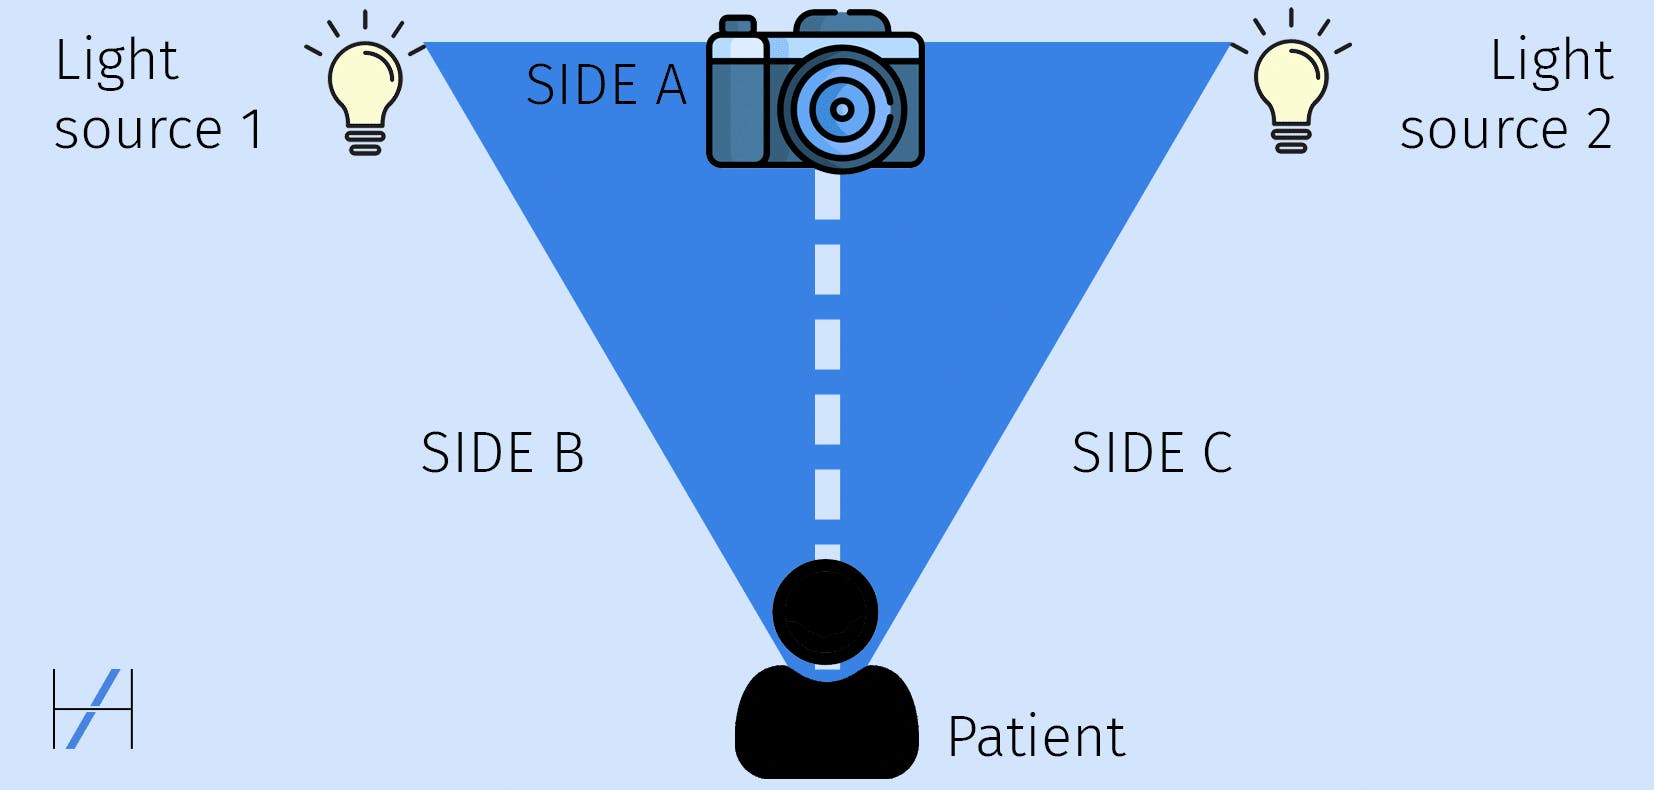
In the above diagram you’ll see an example of how to set this up. To do this you should ensure that:
- the camera on side A is at least one metre from the patient
- the distance between the patient and your lighting sources (sides B and C) is at least 1 metre away from the patient to start with. This can vary, depending on your space so use this as a starting point and move the lighting closer or further away from the patient until you get the best results, then note this and mark it
- the lighting sources are placed equidistantly from the camera and from the patient, for balanced results.
Don’t guess or approximate! Every single differing centimetre in distance will have an impact. This will obviously then result in inconsistent clinical photography.
If you can, the easiest way to do this is to measure the distances and mark your floor for where you or your tripod need to stand, where your patient should stand and where your light source will go.
Know your angles
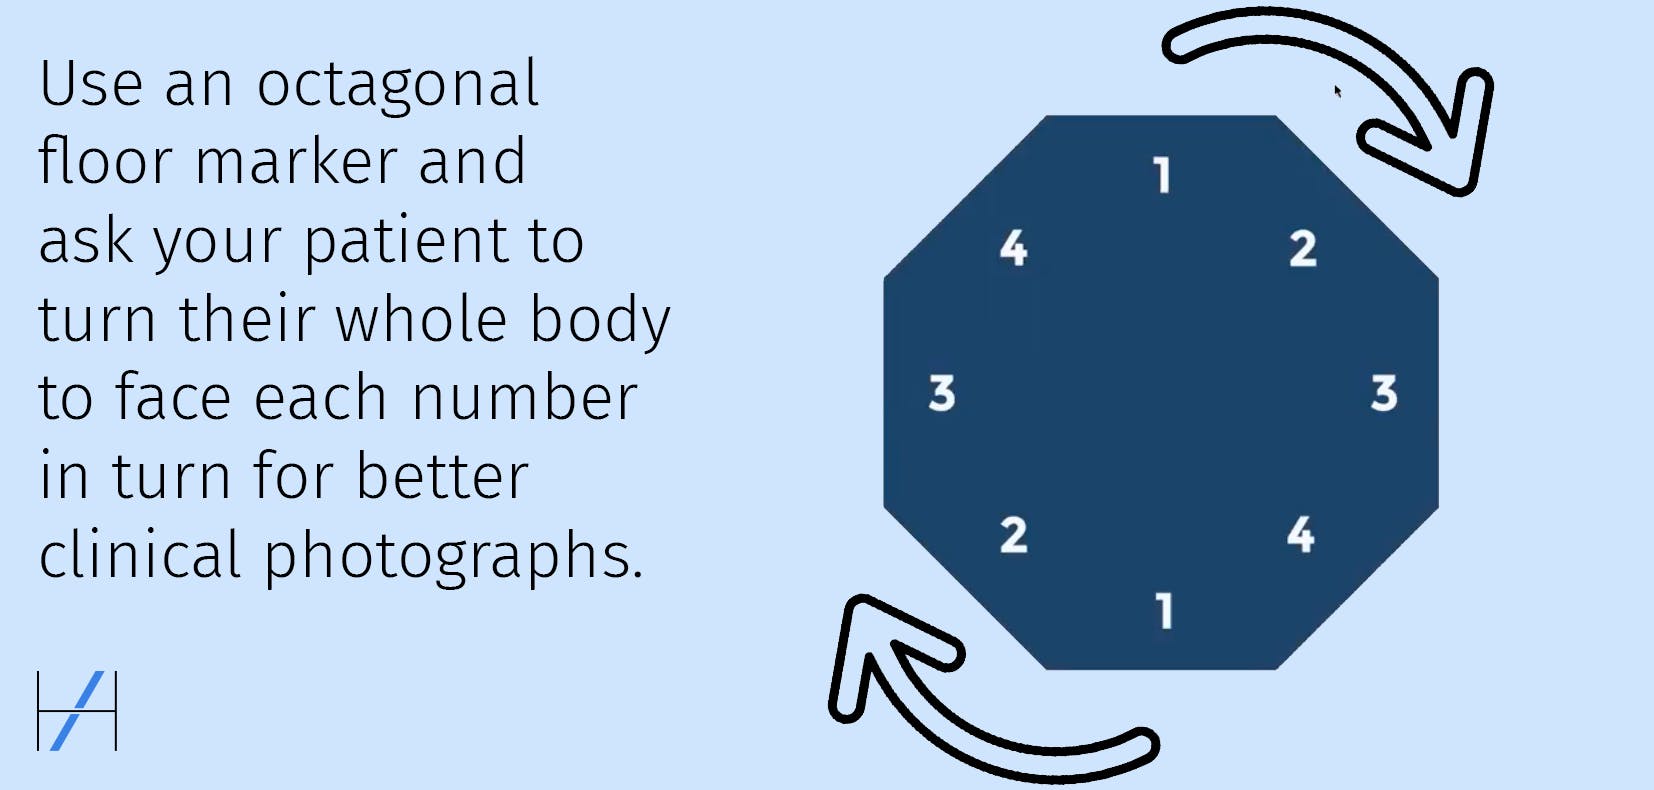
You will need to photograph the face from various angles; Clint Singh recommends using an octagonal floor marker to remove the guesswork here.
Place the floor marker where your patient stands. You can then ask them to stand straight with their whole body facing in the direction of each point on the floor marker, as needed. The camera and lighting stay in the same place for consistency.
Use the right camera settings
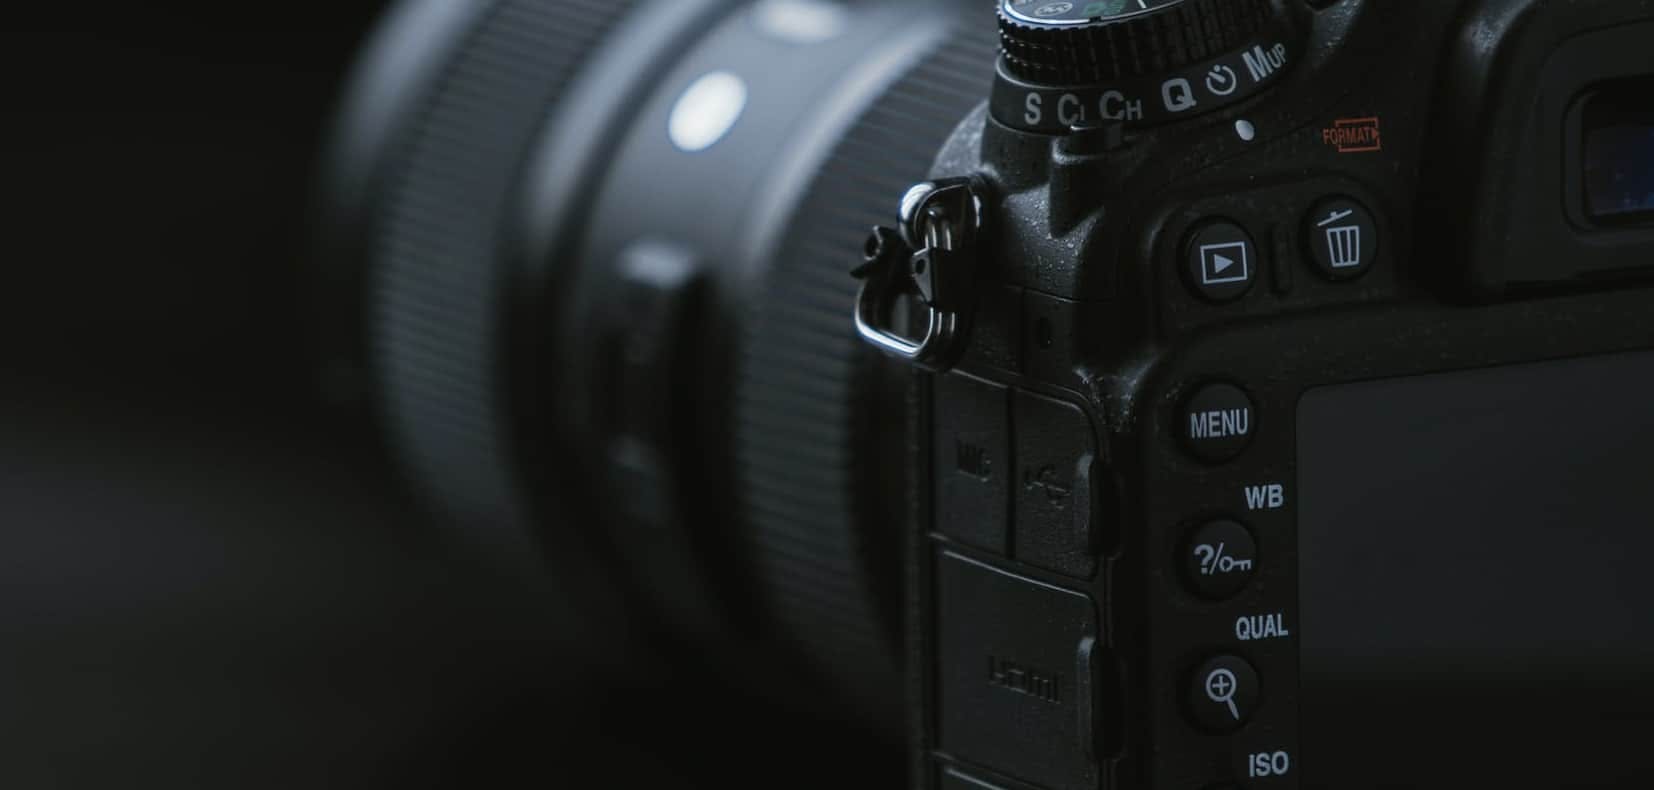
These are Singh’s recommendations for using a DSLR camera for your clinical photography. For those of you using mobile phones or tablets, much of this is also applicable although you may need a professional photo app in order to access these types of settings.
It is worth noting that aperture control is fixed in mobile cameras, whilst they can present the additional problem of perspective distortion. For true-to-life perspective in your photos, your camera should be at least one metre away from your patient.
Shutter speed – this is used to control motion. “If the shutter speed isn’t high enough, your images will be blurred. If the camera is set to Auto and there is not enough light, the camera will lower your shutter speed. We want pin-sharp images so your shutter speed needs to be high enough to capture this.” For normal handheld camera photography, the shutter speed should be no less than 1/125 sec.
Aperture – this controls the depth of field, so the part of the image you want to be in focus. For aesthetics we obviously want all of the image to be in focus. “If there is more light it will make the camera’s aperture more sensitive. If it goes to an extreme it will create little dots or fuzzy marks on your images, called noise, which we want to avoid.” The best aperture setting for normal clinical photography is around f/14.
Colour temperature – this is what makes your images different colours. You’ll need to adjust your colour temperature depending on your light source. For example, if you’re shooting in normal average daylight with no other light source, you will require a colour temperature of 5,500 – 6,500 K. If you are using regular domestic lighting, the colour temperature should be between 2,500 – 3,000 K. You should have a full guide to colour temperature in your camera’s instructions guide, in your camera’s manual settings, or they are readily available online.
Exposure – Camera exposure refers to the amount of light picked up by the camera, creating the overall brightness, or darkness, of a photograph. The more light your camera’s sensors are exposed to, the brighter your images will be, and vice versa. The ISO setting refers to light and you will need to play around with this until you get the right one for your specific situation. Singh advises starting with ISO 100 and going from there.
“When we shoot in Auto mode, or even in manual, we need these four settings – shutter speed, aperture and colour temperature – to work together to create a balanced image,” explains Singh.
Creating the right lighting
Lighting is possibly the trickiest thing to get right, particularly as – for rooms with windows – this changes throughout the day.
“The light coming from outside is constantly at different colours and temperatures, so if you photograph the same patient in the morning, then again in the afternoon or evening, your exposure and colour temperatures are going to be different,” Clint Singh notes.
He adds, “You want directional light coming in, that is, light coming in at 45 degrees to the patient on both sides, to provide uniform, balanced lighting for clinical photography.”
The diagram below shows the area you may wish to consider for your lighting. The teal area represents a one metre zone around the patient which should be avoided. We recommend keeping your light sources outside this, at least to start with, to avoid overexposure. Lights can also be quite warm and may be uncomfortable for your patients if they are too close to them.
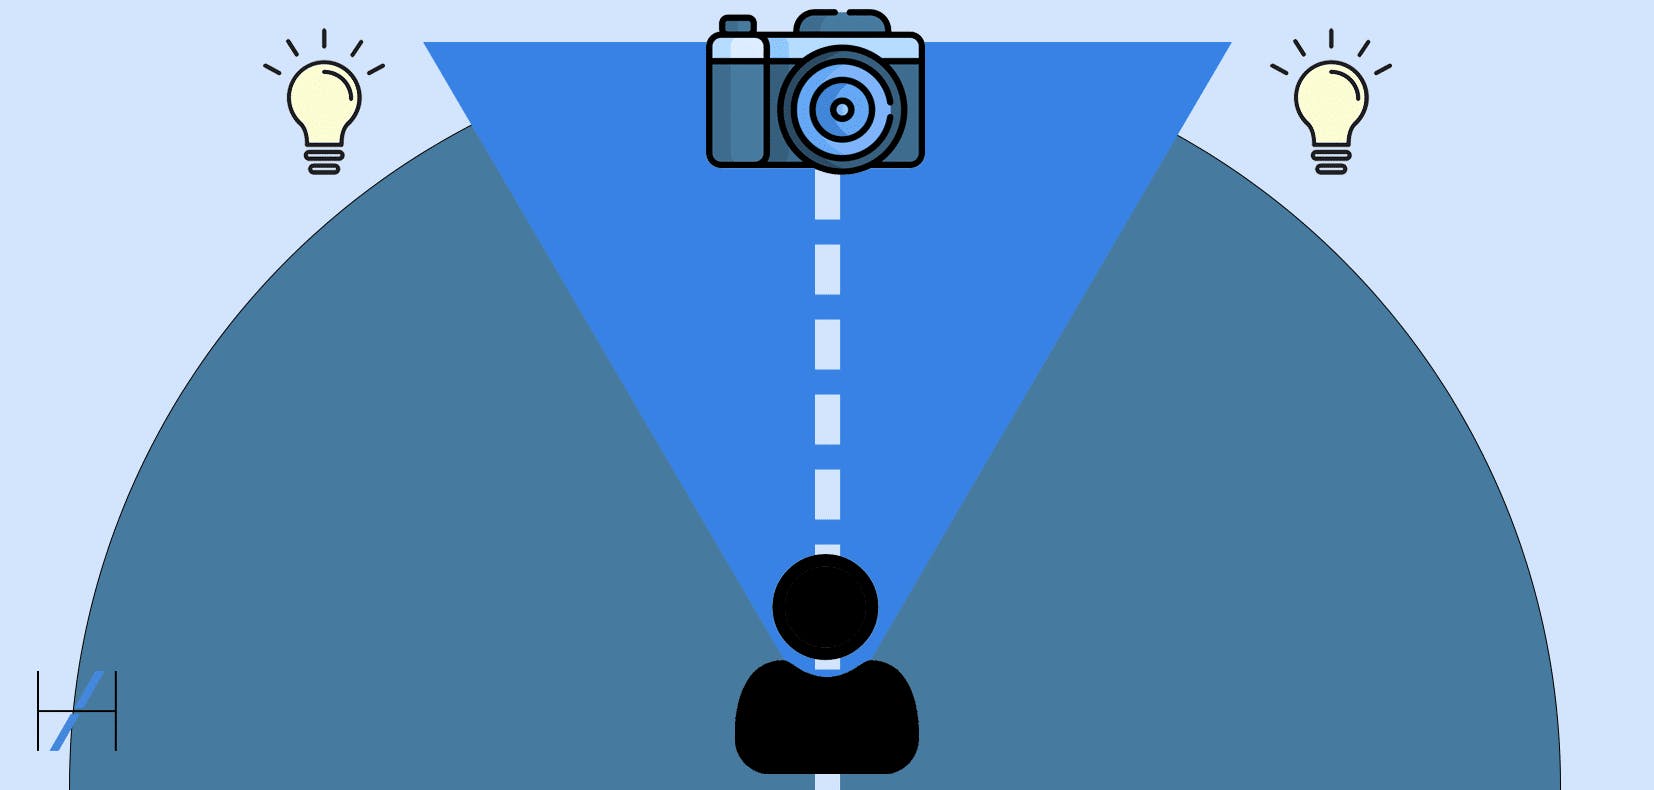
As with placing bathroom lights to the left and right sides of your mirror, positioning your key light sources either side of your camera illuminates the face nicely all over without creating shadows. It allows for sharp, detailed images without overexposure.
No matter what type of camera you are using to capture your clinical photography, ensure you use a stable, consistent floor lighting setup every time for good results. LED floor lights are recommended by Clint Singh.
Remember – when you’re photographing the face, the lights and camera are static – only the patient moves! On that note, let’s look at how you can incorporate floor markings into your clinical space.
Firstly, practice taking face photos in different parts of your space to see where has the best lighting or space for you to set this up. Once you decide on an area and work out the best distances for everything to be set at, it’s time to mark everything out.
Don’t worry about the floor markings spoiling the look of your clinic. There are a number of permanent and temporary solutions in this regard.
Here are a few ideas to consider when incorporating floor markings into your clinical space.
Incorporating photography setups into your clinical space
Stencils
You could use stencils to paint these markers onto the floor using whatever colour and finish of paint works with your clinic’s aesthetic. Alternatively, if you are unable to leave permanent marks on the floor, try using chalk paint which can be easily removed with water and some regular detergent at the end of the day.
Chalk paint comes as paint, regular chalk and jumbo versions, all in a number of different colours. Chalk marker pens are now quite widely available too, so you don’t even need to get your hands dirty when using them!
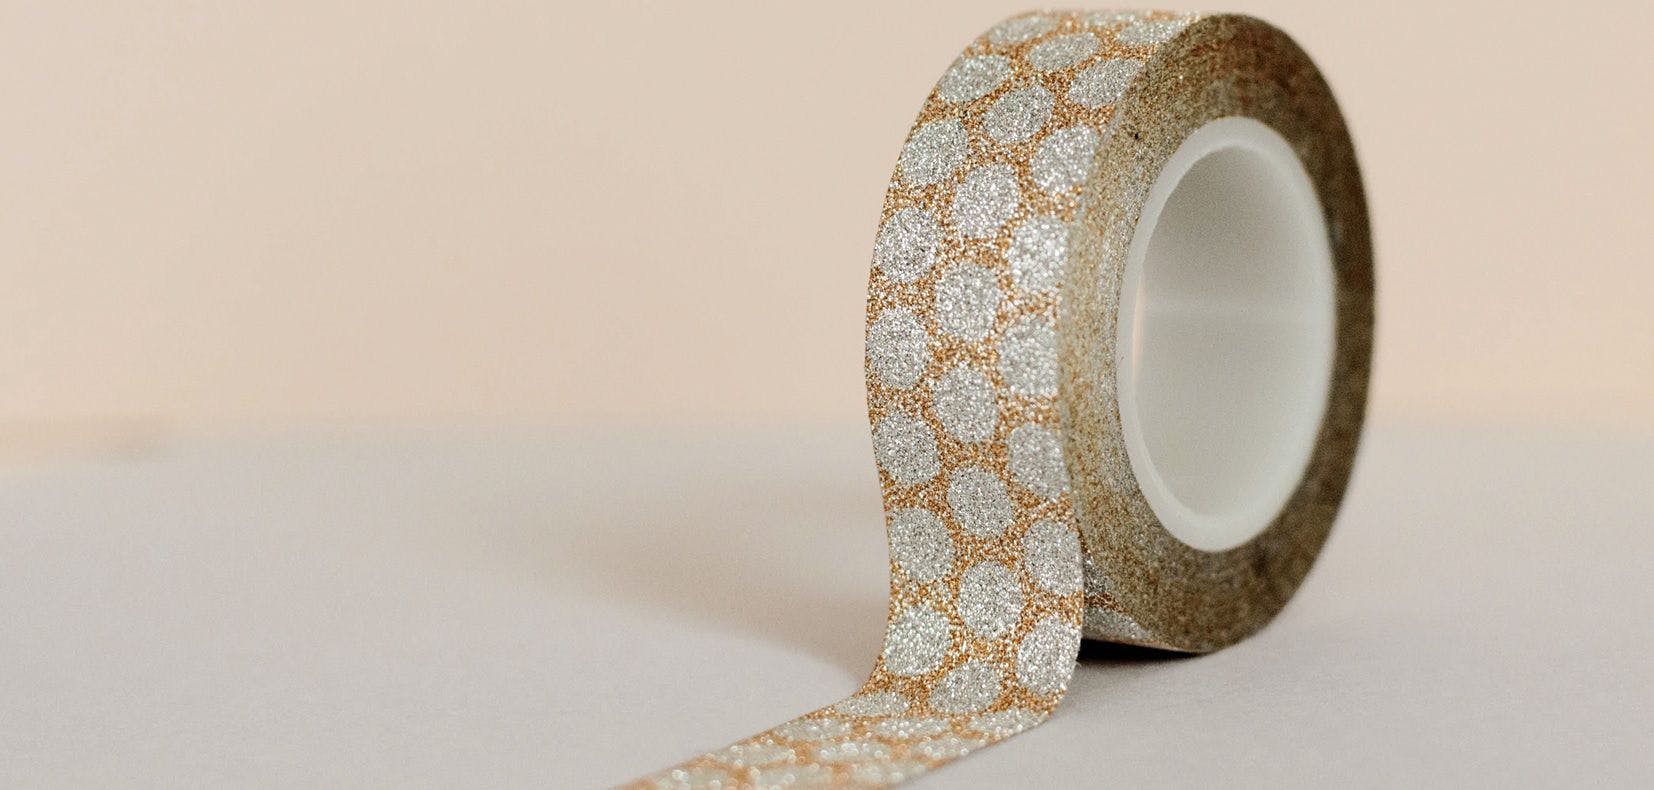
Tape
Use tape to mark off areas on the floor. To make this a more elegant solution that doesn’t look like you’re waiting for some underfloor heating to be installed, be sure to cut the tape with scissors for clean edges.
You may also like to think about using a tape with a pattern, colour or finish – such as metallic – that works with your existing interior design.
Thick washi tape, which is easy to remove without leaving marks, can work well here. There are also many varieties of masking tape (again, easy to remove and gentle on floor surfaces) and gaffer tape (sturdier, longer-lasting but potentially damaging to certain floors) available now.
You can usually find these at any DIY stores or arts and crafts shops. If you’re feeling particularly fancy, you can even have your own design printed onto tape.
Floor stickers or clings
You may want to consider having adhesive floor vinyls which provide long-term “stick” or clings, which are a form of floor sticker that is less damaging to surfaces, made. These can include your branding and can echo your practice’s design aesthetic. After all, markings don’t need to just be lines, they can be dots or squares – a heart shape – there are so many possibilities!
We hope you find this information helpful in improving your clinical photography skills. If you would like to watch Clint Singh’s full Comma webinar on Optimising Your Clinical Photography, this is available as part of the Masterclasses series in the Comma Library.
All information correct at the time of publication
Download our full prospectus
Browse all our injectables, dermal fillers and cosmetic dermatology courses in one document
By submitting this form, you agree to receive marketing about our products, events, promotions and exclusive content. Consent is not a condition of purchase, and no purchase is necessary. Message frequency varies. View our Privacy Policy and Terms & Conditions
Attend our FREE open evening
If you're not sure which course is right for you, let us help
Join us online or in-person at our free open evening to learn more
Our Partners


STAY INFORMED
Sign up to receive industry news, careers advice, special offers and information on Harley Academy courses and services