
Midface Filler Injection Techniques: Pop Quiz for Aesthetic Practitioners
In aesthetic medicine, ‘midface filler’ typically refers to the central region of the face bounded by the lower eyelids above and the upper lip below.
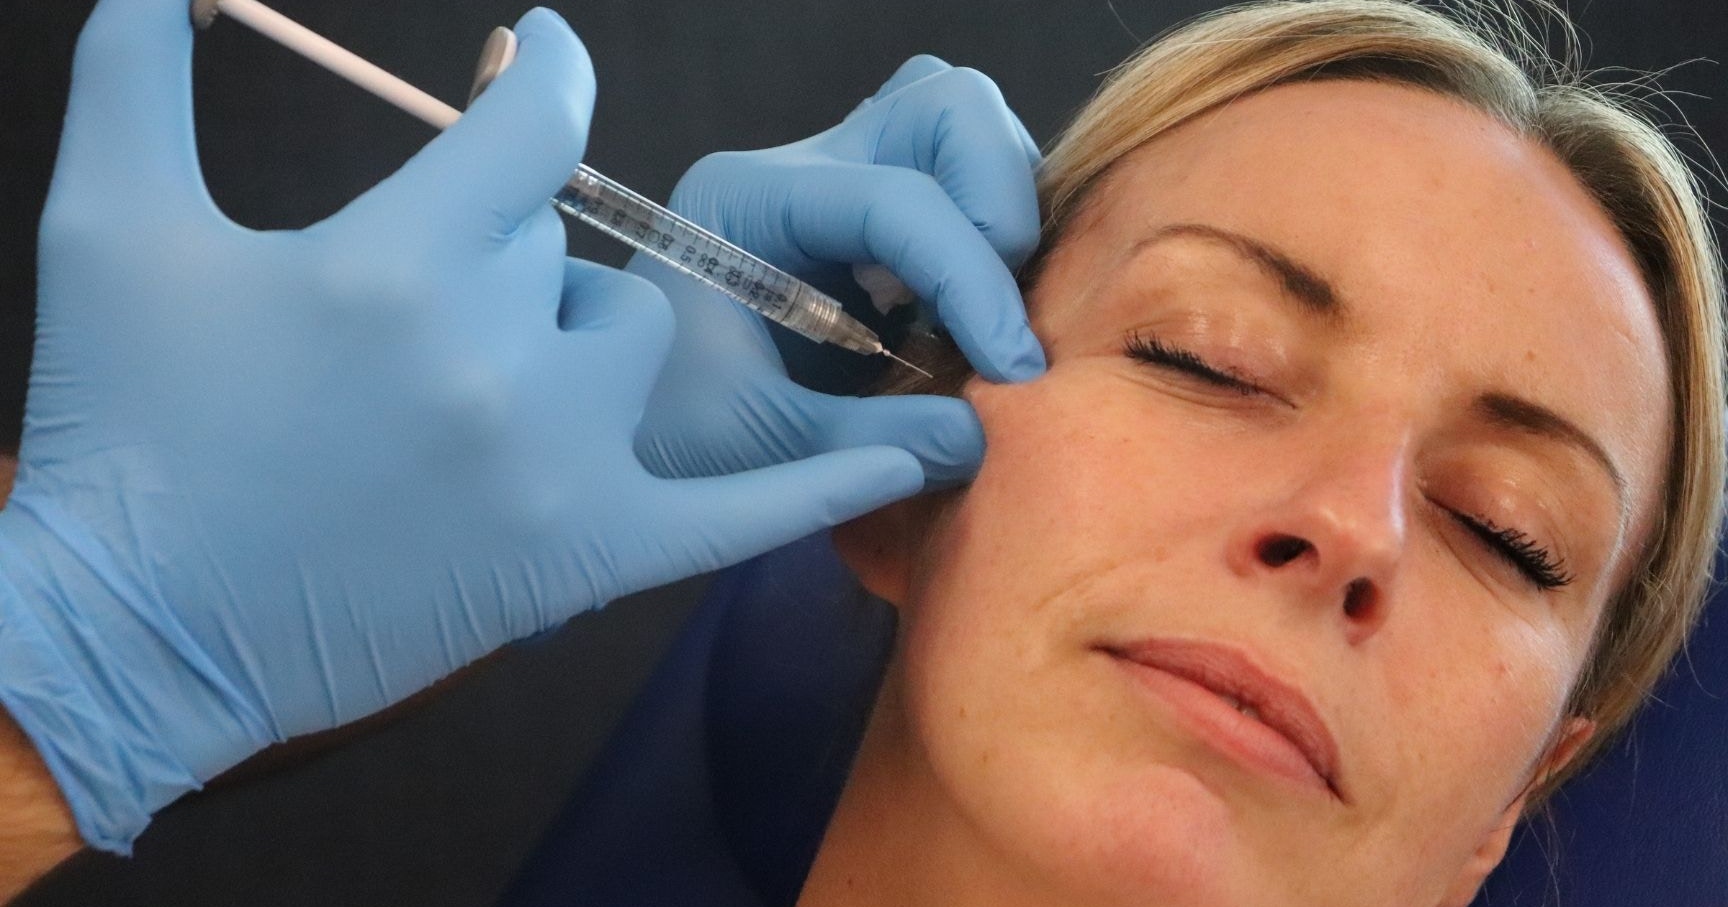
As an injector, it’s imperative to be able to administer midface filler injections confidently and competently.
Given the midface is a critical component for facial rejuvenation, as well as offering beautification opportunities, it’s vital you become familiar with evidence-based techniques for this region.
Understanding midface anatomy isn’t just about where you inject, it’s about how volume loss here affects the entire face. Strategic midface filler often improves lower face heaviness and periorbital tiredness without treating those areas directly.
Mastering this fundamental zone will allow you to provide efficient, proportionate results for many common aesthetic concerns. But how confident are you in your midface filler injection techniques right now..? Test your knowledge now!
10 Midface Filler Injection Technique Pop Quiz Questions
Take this Pop Quiz then scroll down for the answers. It’s designed for novice to intermediate-level aesthetic practitioners.
If you’re a GEM© by Harley Academy subscriber, this information is all available - and more! - within your app… So no cheating!
1. Which of the following best describes the ideal midface filler injection technique in terms of injection speed and volume?
A) Slow injection with small boluses
B) Fast injection with large boluses
C) Slow injection with large boluses
D) Rapid threading with a large volume
2. Which plane is generally safest and most effective for structural augmentation of the medial cheek?
A) Intradermal
B) Subcutaneous
C) Supraperiosteal
D) In the SMAS
3. Which of the following midface filler injection techniques is most appropriate for novice injectors when treating the zygomatic arch?
A) Superficial linear threading with a 30G needle
B) Supraperiosteal bolus with a 25–27G needle
C) Deep fanning fanning with a 22G cannula
D) Intraoral injection using a dental block
4. What is the primary anatomical danger when injecting in the tear trough region of the midface?
A) Facial artery
B) Superficial temporal artery
C) Infraorbital artery
D) Transverse facial artery
5. Which of the following midface filler injection technique actions increases the risk of vascular occlusion?
A) Injecting large boluses rapidly in high-risk areas
B) Injecting slowly with low pressure
C) Using a cannula in the subcutaneous plane
D) Mapping anatomical landmarks prior to injection
6. What is the typical angle of entry when placing a needle onto the bone in the midface?
A) 15 degrees
B) 45 degrees
C) 90 degrees (perpendicular to the skin)
D) 120 degrees
7. Which of the following is a correct method for identifying the infraorbital foramen before injecting the medial cheek?
A) Draw a line from the oral commissure to the lateral canthus
B) Palpate the maxilla approximately 7–10 mm below the infraorbital rim in line with the mid-pupillary line
C) Ask the patient to smile and inject the most prominent part of the cheek
D) Locate the zygomatic arch and inject above it
8. What is the most appropriate reason to avoid injecting directly into the nasolabial fold in the early stages of midface filler treatment?
A) The skin in this area does not retain filler well
B) Direct injection leads to excessive cheek projection
C) Midface volume loss often contributes to the fold, so correction should begin there
D) The nasolabial fold contains too many nerves for safe injection
9. What is the safest technique for addressing volume loss in the tear trough area when first treating the midface?
A) Deep supraperiosteal filler to the medial cheek for indirect support
B) Direct superficial injection into the tear trough
C) High-volume subcutaneous filler in the infraorbital hollow
D) Threading filler along the orbital rim with a needle
10. When injecting the cheek with a needle, what tactile sensation typically indicates correct supraperiosteal placement?
A) Soft, springy resistance
B) A firm stop or "scratch" as you contact bone
C) No resistance at all
D) A pulsing or vibrating feeling
The answers: find out how you did!
1. The correct answer is E.
Slow injection with slow boluses best describes the ideal midface filler injection technique in terms of injection speed and volume.
2. The correct answer is C.
The supraperiosteal plane and cannula techniques underneath the lip elevators are generally considered to be the safest and most effective for structural augmentation of the medial cheek. Whilst injecting in the SMAS is considered optimal, sub-SMAS is also acceptable.
3. The correct answer is B.
According to the latest evidence, as detailed in the Global Evidence Matrix, a supraperiosteal bolus with a 25–27G needle should be used to treat the zygomatic arch for novice injectors. You can also use a 22g cannula in the subcutaneous plane or for intermediate injectors a cannula in the deep plane
4. The correct answer is C.
The infraorbital artery is the primary anatomical danger when injecting in the tear trough region of the midface.
5. The correct answer is A.
Injecting large boluses rapidly in high-risk areas increases the risk of vascular occlusion.
The latest evidence shows that optimal midface filler injection techniques require a ‘low and slow’ approach to reduce the chance of vascular events.
6. The correct answer is C.
The typical angle of entry when placing a needle onto the bone in the midface is 90 degrees, perpendicular to the skin. Some more advanced techniques involve 45 degree angles with the bevel of the needle facing down. This is to reduce the risk of filler displacement.
7. The correct answer is B.
It’s correct to identify the infraorbital foramen before injecting the medial cheek by palpating the maxilla. This should be done approximately 7–10 mm below the infraorbital rim in line with the mid-pupillary line.
8. The correct answer is C.
We avoid injecting directly into the nasolabial fold as midface volume loss often contributes to the fold. As such, correction should begin there with direct treatments to the nasolabial folds being used once midface volume has been restored.
9. The correct answer is A.
GEM© shows us that deep supraperiosteal filler to the medial cheek is the safest technique for addressing volume loss in the tear trough area when first treating the midface. This can provide indirect support.
10. The correct answer is B.
When injecting the cheek with a needle, you should feel a firm stop or ‘scratch’ as you make contact with the bone. This is a good indicator that you’ve achieved the correct supraperiosteal placement.
How are you feeling about your midface filler technique knowledge?
We hope you absolutely smashed this pop quiz! If you didn’t, don’t worry. Use this as a chance to highlight areas for improvement and more targeted study. After all, before this, you didn’t know what you didn’t know - and now you do!
Aesthetic medicine is an expansive specialty which requires a dedication to lifelong learning, but you can do this at your own pace. You can also find the learning style that best suits you, to help you immerse yourself in the most enjoyable way!
Subscribe to the GEM© by Harley Academy app
If you’re looking to improve your knowledge of the most up-to-date, evidence-based approaches for filler treatments across all facial zones, you’ll find all this and more in the GEM© by Harley Academy app.
All of our aesthetics training courses are taught using the data-backed principles set out in the Global Evidence Matrix. This framework is then brought to life and made incredibly accessible, through the dedicated GEM© app.
From quick reference tools setting out every key aspect you need to know to ensure you’re providing the safest, most effective filler treatments, to anatomical explanations and video treatment demonstrations. You’ll quickly find that the GEM© by Harley Academy app becomes every aesthetic practitioner’s most valuable resource!
GEM© is a fantastic tool for visual learners, thanks to the specially commissioned illustrations, video demonstrations and, coming soon, animations. However, that’s not all it is. You’ll find engagingly written information that makes everything more digestible, there’s references for studies you can take a deep dive into, and video explainers where Dr Tristan Mehta talks you through key concepts and more.
The app is available to medical aesthetics professionals on an annual subscription basis, with our Level 7 trainees receiving 12-months of free access. All Harley Academy trainees receive a 10% discount on the standard GEM© subscription fees, too.
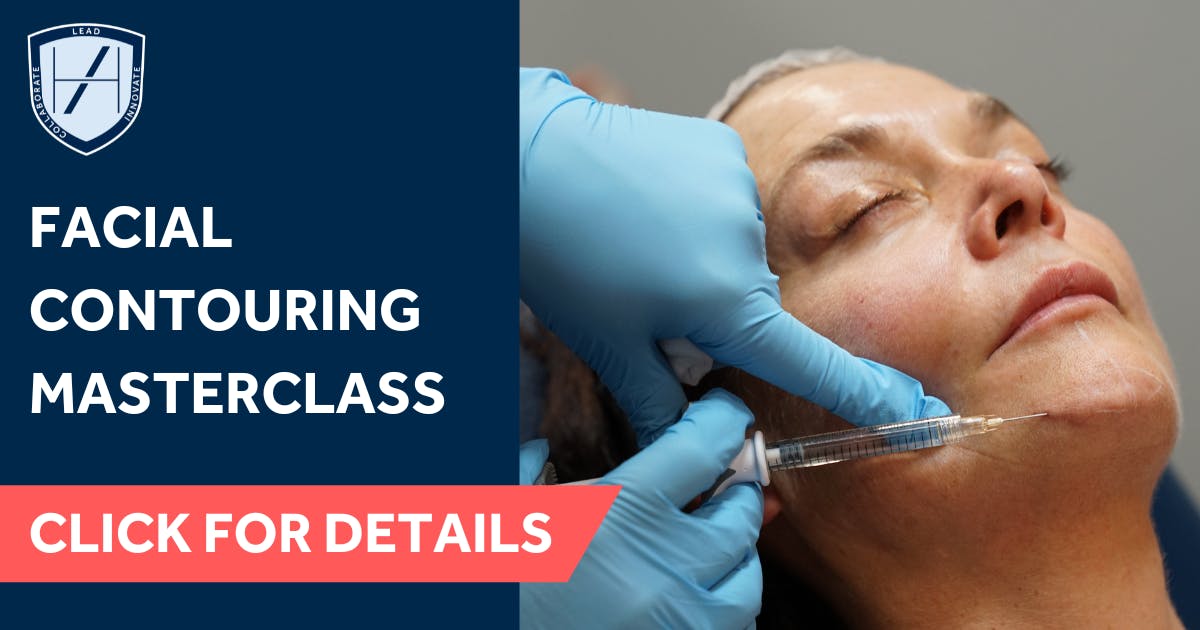
Take a dedicated Injectables Masterclass
If you’re a beginner, just starting out in aesthetic medicine, you may have completed a short foundation training botox and filler course. To expand your knowledge and increase your competence - as well as your confidence! - we highly recommend additional practical training.
If you’re specifically interested in learning more about the midface and improving your techniques for this zone, check out our Facial Contouring Masterclass.
With one day of practical, clinical training, all backed by dedicated pre-course eLearning, you’ll get so much bang for your buck! For a relatively short time away from your practice, you’ll learn how to sculpt proportionate, natural-looking results that your patients will love.
You’ll treat your own patient, provided by us, under the direct supervision of an experienced clinical trainer. Not only will this help you to hone your skills and put your new knowledge into practice, but you can also use this time to gain valuable insights into all aspects of aesthetic medicine, from your mentor.
Attendees always tell us how much they enjoy these days, coming away inspired and ready to introduce these new techniques to their patients. Sound like the experience you’ve been looking for? Reach out to our Course Advisors for more information!
Make sure your filler course covers the latest in evidence-based aesthetic practice
When choosing the best aesthetics course for how you want to practise, you need to feel confident in what you’re being taught - and who you’re being taught by.
Harley Academy was the first aesthetics training school to be honoured with an official ‘approval’ from the Joint Council for Cosmetic Practitioners (JCCP). Not only are we JCCP approved as an academy, but our Ofqual-regulated Level 7 Diploma courses in cosmetic injectables are too.
As we’ve already outlined, Harley Academy aesthetics training represents the only curricula delivering injectables courses based on the latest evidence, as it relates to your specific experience level, and updating that data every year.
We’ve built our reputation on raising the bar for aesthetic medicine education and continue to uphold the highest of standards. Our team is constantly innovating to keep you learning and practising at the cutting edge of medical aesthetics. This is why Harley Academy has more graduates than any other UK aesthetics training provider.
We hope you enjoyed this pop quiz - let us know in the comments on our Instagram post @Harley_Academy or drop us a message if you’d like more of these!
All information correct at time of publication
Download our full prospectus
Browse all our injectables, dermal fillers and cosmetic dermatology courses in one document
By submitting this form, you agree to receive marketing about our products, events, promotions and exclusive content. Consent is not a condition of purchase, and no purchase is necessary. Message frequency varies. View our Privacy Policy and Terms & Conditions
Attend our FREE open evening
If you're not sure which course is right for you, let us help
Join us online or in-person at our free open evening to learn more
Our Partners


STAY INFORMED
Sign up to receive industry news, careers advice, special offers and information on Harley Academy courses and services